7.26. Port Configuration
If your firewalling policy requires that the two network interfaces of the IDERI note service have to be accessed via dedicated TCP ports in addition to the standard ports for RPC with named pipes over SMB, then you have to configure this using the IDERI note control panel applet on the computer where the IDERI note service is running. You can invoke it by browsing in the control panel for the applet labeled “IDERI note 4.0.x.y” and double-clicking on its icon.
On a server core installation of Windows® Server 2008 or later you can start the applet by invoking the executable corecfg.exe in the installation directory of the IDERI note service.
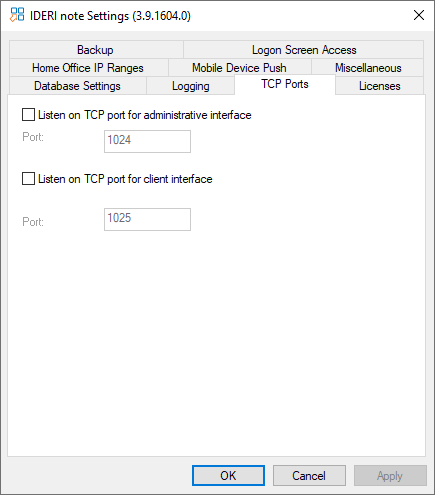
If you select the third page, labeled “TCP Ports”, the screen will look like in figure 7.90 with default settings right after installation of the IDERI note service.

Fig. 7.90 The TCP Ports page of the IDERI note control panel applet with default settings
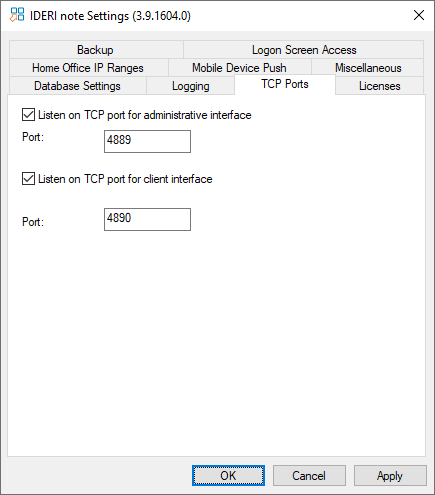
In order to configure the IDERI note service in such a way that it also listens for inbound connections on dedicated TCP ports (either for TCP or HTTP), simply tick the appropriate checkboxes and specify the port numbers you want to use, like in figure 7.91.

Fig. 7.91 Dedicated TCP ports specified in the IDERI note control panel applet
In order to activate the ports you specified, now click the OK button or the “Apply” button in the IDERI note control panel applet and restart the IDERI note service.
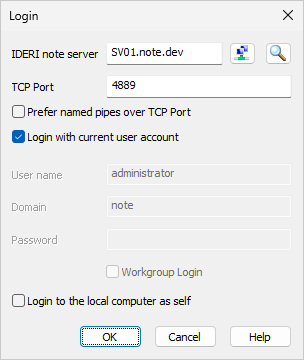
When connecting to a server that is configured this way with the IDERI note administrator, make sure you select the radio button labeled “Connect via TCP” and then specify the port number like in figure 7.92.

Fig. 7.92 Specifying the port number of the administrative network interface
For clients to connect to an IDERI note server with a dedicated TCP port
configured for the client network interface, the port number has to be
specified on the command line for the client with the tcp=1 -p=portnumber
command line parameters. For additional information about these
command line parameters and MSI properties that you can use to create a
transform for the client installation with the port already configured,
refer to sections 10.1
and labeled and 8.3.


