


7.5. Monitoring and troubleshooting mobile push message operations
An important aspect of successful push message operation is monitoring success or failure of push operations. Sending push operations to mobile devices from the on-premise IDERI note service requires a successful setup of the connection from the IDERI note service to the IDERI note mobile push infrastructure as outlined in section 3.14.
Active Directory® principals with the general security policy access right “Enumerate mobile clients” (see section 7.4.1) can monitor push operations with the button labeled “Mobile client push” on the “Settings” category’s “Miscellaneous” ribbon panel in IDERI note administrator (see figure 7.20).
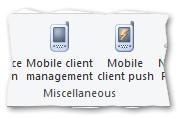
Fig. 7.20 The “Mobile client push” button in the IDERI note administrator ribbon control
After pressing this button, a dialog with an overview of the push operations and their state is shown as in figure 7.21. Invoking this dialog requires the general security policy access right “Enumerate mobile clients” granted (see section 7.4.1).
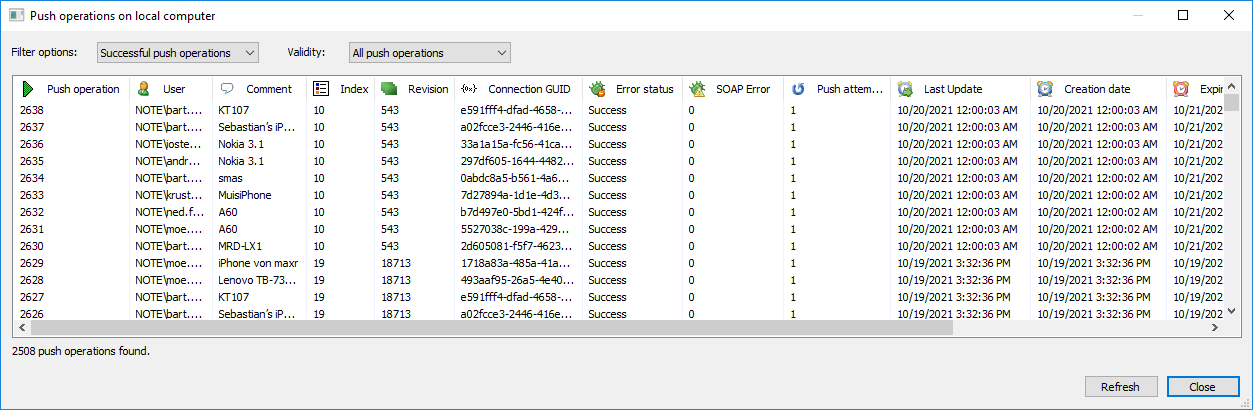
Fig. 7.21 The push operations overview dialog in IDERI note administrator
This dialog lists all push operations along with their associated information about the targeted device, the associated user, message index and revision of the IDERI note message to be pushed and mobile connection data such as the connection GUID, the push token and the public key of the device, but most important, with the result of the push operation in the seventh column (“Error status”). At the top of this dialog, filter options can help distinguish failed push operations from successful push operations and historical push operations for outdated IDERI note messages from push operations for currently valid IDERI note messages.
7.5.1. Working with the push operations overview dialog
The push operations overview dialog allows operations on each item to be performed via context menu. Right click a push operation item and a context menu as in figure 7.22 will appear.
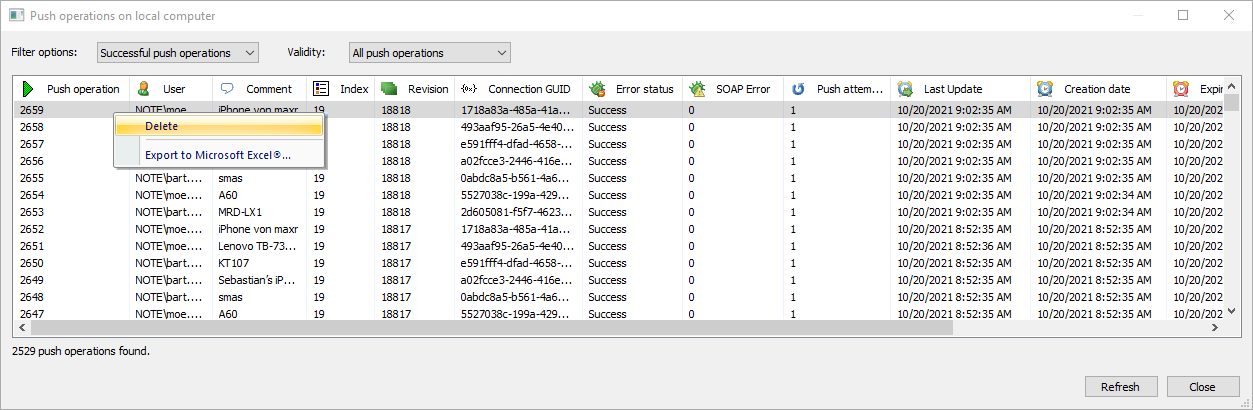
Fig. 7.22 Context menu in the push operations overview dialog
This context menu allows for the deletion of a single or multiple push operation items and an export of all data into an Excel® Worksheet. Deleting a push item requires the general security policy access right “Manage mobile clients” granted (see section 7.4.1).
Deleting push items can become necessary if too many push items make the user
interface experience appear sluggish for this dialog or if historical
push item data for older push operations are not of interest. Note that
automatic deletion of old push operation items can be left to the intpushsvc
service by setting a non-zero value to the “CleanAfterDays” REG_DWORD
registry value in HKEY_LOCAL_MACHINE\SOFTWARE\ideri\intpushsvc
(see also section 10.4) followed by
a restart of the intpushsvc service. The
numerical value assigned to this registry value denotes the maximum age in days
that push operations may attain before they are deleted automatically.