


3.4. Installing the IDERI note Client Components
In order to display messages on a client computer that have previously been created using the IDERI note administration components with an IDERI note Server, the IDERI note client components have to be installed on each client computer. Note that you can install the IDERI note client components on as many computers in your network as you like, as all client licensing happens implicitly on the IDERI note server that tracks the number of clients that are connected simultaneously to it.
Installation of the client components is done by invoking the intclnt.msi setup file.
Installing this file can again either be done by executing it from explorer or
by executing it from a cmd.exe console window, thereby specifying an
installation log file like this:
msiexec /i intclnt.msi /l*v c:\temp\intclnt.log
This command line assumes that you have created the directory c:\temp, where the Windows® installer installation engine will create the log file intclnt.log. The following installation sequence will show the installation of the IDERI note client components on a typical platform for this software component, a Windows® 8.1 client computer.
Note that this install might look complicated and tedious at first glance, but the fact that Windows® installer technology is used for the client setup will easily allow you to do a silent deployment of this client setup to client computers within your organization using software assignment with AD group policies or PC lifecycle management solutions. If you are fine with the default settings of the client installation in intclnt.msi, you can directly use this Windows® installer package. Otherwise you can create a transform using your transform editor of choice that will create a customized version of your IDERI note client setup. One such transform creation tool is the IDERI note Client Customization Wizard that ships as part of the IDERI note Administrative Tools. If you happen to use a PC lifecycle management solution product, you will probably be able to define property values for the installation of intclnt.msi from within this product.
For a complete list of MSI properties of intclnt.msi see section 8.3.
After intclnt.msi has been invoked, the installer welcome screen will appear soon thereafter. Figure 3.18 shows the welcome screen of the intclnt.msi setup.
Fig. 3.18 Client setup welcome screen
If you click “Next” on the client setup welcome screen, the destination folder setup screen will appear (figure 3.19).
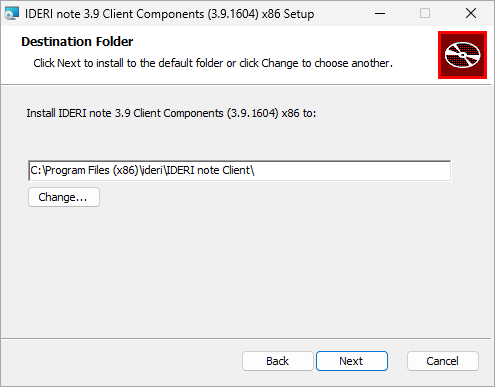
Fig. 3.19 Destination folder setup screen
Using this screen, you can either change the folder, where the IDERI note client components are installed or accept the default, which is the recommended setting. After that, click “Next” and the server settings and polling configuration screen will be displayed (figure 3.20).
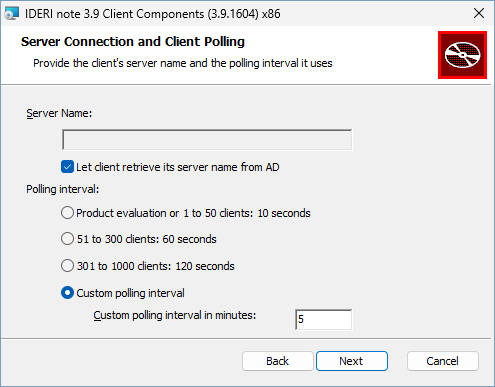
Fig. 3.20 Server settings and polling configuration screen
If you have previously configured your IDERI note server in such a way that it is registered as a service connection point in AD, you can tick the checkbox labeled “Let client retrieve its server name from AD”. If this checkbox is ticked, the edit box labeled “Server name:” is disabled. If you don’t want your client connect to the IDERI note server via an AD query, you have to untick the checkbox labeled “Let client retrieve its server name from AD” and provide the name of the server running the IDERI note service in the edit box labeled “Server name:”. The server name can be provided as the NetBIOS name, the DNS name or the dotted IP address of the computer running the IDERI note server.
The polling interval that you have to provide via the radio controls or in the edit box at the bottom of the screen determines the frequency in which the client contacts its server to pull new messages for the user running the IDERI note client components. Typical polling intervals are in the range of ~5 minutes, which means that every 5 minutes the client contacts its server. You might be tempted to set this value to the mimimum value of 10 seconds but you should keep in mind, that the lower this value is, the higher network utilization and CPU usage on the IDERI note server will be. Internal tests and existing productive installations have shown that polling intervals of 2-5 minutes with several hundred clients connected to a single IDERI note server running on contemporary hardware are not a big problem regarding network utilization and CPU usage. However, in order to get fast results during product evaluation of IDERI note or even in small environments, it might also prove to be advantageous to use the minimum polling interval of 10 seconds. More detailed data about the network load of IDERI note can be found in section 7.22.
If you are done configuring your settings, click the “Next” button and the client RPC server setup screen will be shown (figure 3.21).
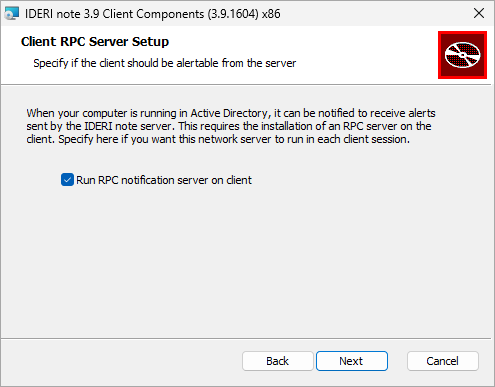
Fig. 3.21 Client RPC server setup screen
On this screen you can configure whether the client should run an RPC server that can optionally be contacted by the IDERI note server. This feature essentially adds a push model for alert messages to the pull model that IDERI note otherwise uses. Using this feature, clients can be notified via the IDERI note administration components about urgent alerts. On the other hand, this feature requires that a network server interface is running on the client and therefore local firewall settings have to be relaxed which might violate your organization’s security policy. For this reason, this feature is optional and you can untick this option if you don’t want this feature. Note however, that the push feature for alert messages will not be available if this feature is not enabled on the client computer. For more information and how this feature works see section 4.6.
If you are done configuring your settings, click the “Next” button and the client start options setup screen will be shown (figure 3.22).
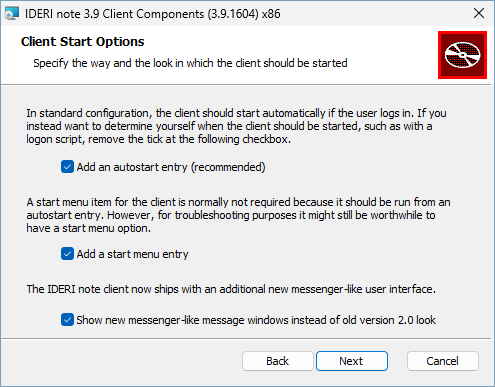
Fig. 3.22 Client start options setup screen
On this screen you can configure whether the IDERI note client should be started automatically for each interactively logged in user.
If so, tick the checkbox labeled “Add an autostart entry”. Instead of having the IDERI note client started automatically you might also prefer to start it from a logon script, therefore this setting is optional. By ticking or unticking the checkbox labeled “Add a start menu entry” you can specify whether a start menu entry for the IDERI note client application should be created. Having a start menu entry created might be useful for troubleshooting purposes, especially if no autostart entry is to be created. The last checkbox on this page, labeled “Show new messenger-like message windows instead of old version 2.0 look” determines the look of the message windows that are displayed on the users desktop. The predecessor version of the IDERI note client version 2.2 was version 2.0. This version of the client showed messages as dialog-like windows in the center of the screen. Version 2.2 of the IDERI note client comes with an additional messenger-like look that is the default look for new installations. If this look is selected, messages will appear in the lower right corner of the screen, like the popular instant messenger applications, and will adapt their size to the length of the message text to be displayed.
If you are done configuring your settings, click the “Next” button and the last client configuration screen, the logon screen client start options screen will be shown (figure 3.23).
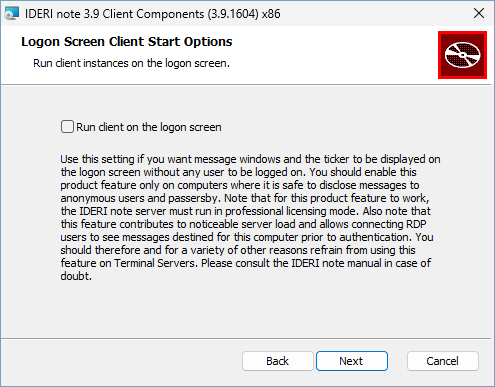
Fig. 3.23 Logon screen client start options screen
On this screen you can configure whether client instances are allowed to run on the windows logon screen. By default, the checkbox labeled “Run client on the logon screen” on this installer screen is unticked. You should act with caution when activating this product feature since it can contribute considerably to the IDERI note server load, especially when activated on a terminal server. Note also, that this product functionality can hardly be recognized by Terminal Server users, because the Windows logon screen can usually only be seen by RDP users during their login process for a short time. Hence, do not tick this checkbox if you are unsure what its implications are and instead first read section 7.8 in order to make a well-informed decistion. In any case of doubt, leave this configuration option with its default value, i.e. unchecked.
If you are done configuring your settings, click the “Next” button and the installation start screen will be shown (figure 3.24).
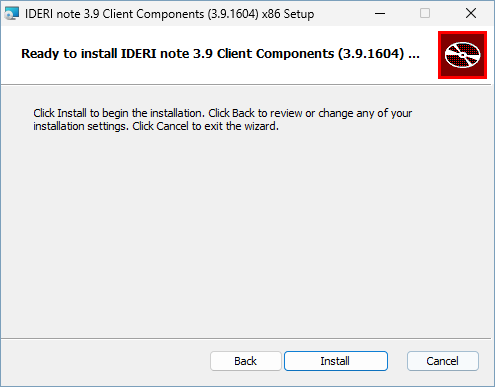
Fig. 3.24 Installation start screen
If you click “Install” on the installation start screen, the installation process is started and the installation process screen is shown (figure 3.25).
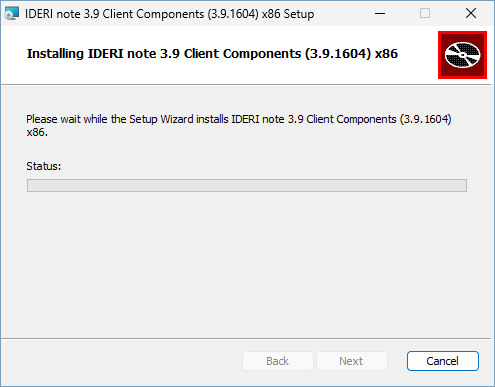
Fig. 3.25 Installation process screen
The installation process screen will take a while until it completes and the installation completion page is shown (figure 3.26).
Fig. 3.26 Installation completion screen
If the installation completion screen is shown, the IDERI note client components have been installed successfully and you can click the “Finish” button now. In order to start the IDERI note client you can now logout and login again or start it from the start menu, depending on the settings you made during the setup. Note that by default the IDERI note client application shows an icon in the system notification area in order to give the user visual feedback and to allow the user to show the message history application.