


3.15. Installing the IDERI note web components
3.15.1. Prerequisites
IDERI note web has the following prerequisites:
.Net Framework >= 4.8
Microsoft Internet Information Services 7 (IIS) installed on a domain joined machine
.NET 8.0 Hosting Bundle
The prerequisites must be installed on the target system in the exact order outlined above prior to the execution of inoteweb.msi. Otherwise the installation of inoteweb.msi will fail.
Warning
IDERI note web uses IIS basic authentication by default. Using basic authentication over http is not secure as the credentials sent to the server are not encrypted. Therefore you should configure the IIS web site where IDERI note web has been installed to always use HTTPS/TLS.
3.15.2. Interactive installation of the MSI
If you invoke the inoteweb.msi setup file, the installation welcome screen will appear (figure 3.84).
Fig. 3.84 Installation welcome screen
If you click “Next” on the installation welcome screen, the destination folder setup screen will appear (figure 3.85).
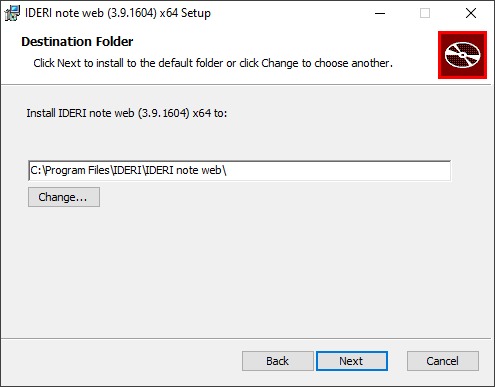
Fig. 3.85 Destination folder setup screen
Using this screen, you can either change the folder, where the IDERI note web component source files are installed or accept the default, which is the recommended setting. After that, click “Next” and the IDERI note server connection configuration screen appears (figure 3.86).
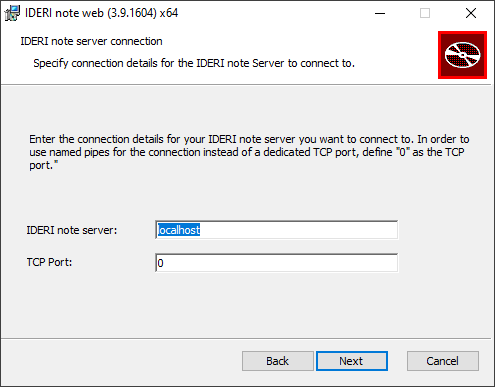
Fig. 3.86 IDERI note server connection configuration screen
On this screen you specify the name or IP address of the IDERI note server you want to interact with as well as the IDERI note administrative TCP port for the connection to the IDERI note server. Specify “0” as the TCP port in order to use named pipes for the connection. After that, click “Next” to get to the Create IIS application screen (figure 3.87).
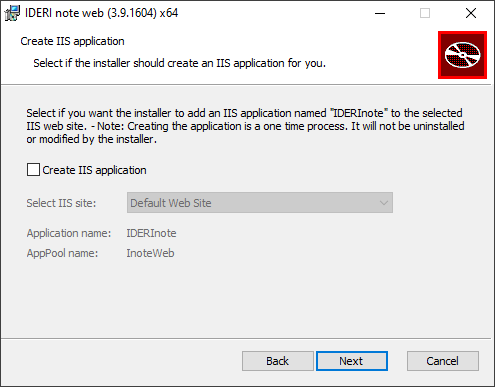
Fig. 3.87 Create IIS application screen
Here you can decide, if you want the installer to create an IIS application under the selected web site. To do so check the box for Create IIS application and select the IIS web site you want to create the application in. If you don’t check the box you will have to perform the steps manually as described in chapter 3.15.3. If you click “Next” and the installation start screen will appear (figure 3.88).
Note
Letting the installer create the IIS application is optional, but if left out you have to manually add an IIS application in IIS to use IDERI note web.
Note
Creating the IIS application is a one time process. If you uninstall the MSI the IIS application will still be present and not be deleted.
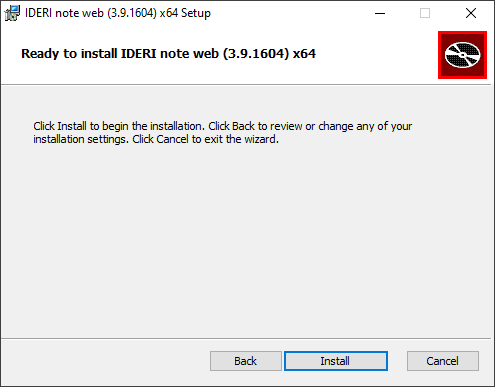
Fig. 3.88 Installation start screen
If you click “Install” on the installation start screen, the installation process is started and the installation process screen is shown (figure 3.89).
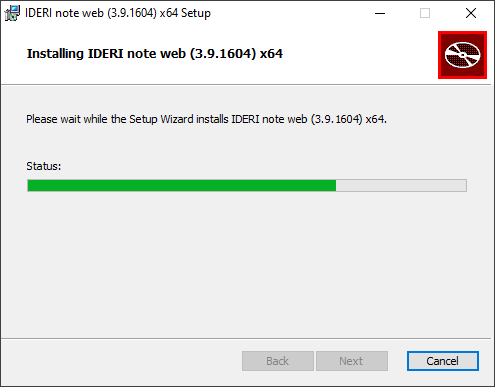
Fig. 3.89 Installation process screen
The installation process screen will take a while until it completes and the installation completion page is shown (figure 3.90).
Note
If the Basic Authentication feature of IIS is not yet enabled on the computer, it will be enabled by the installer automatically and you will get a restart prompt at the end of the installer process.
Fig. 3.90 Installation completion screen
If the installation completion screen is shown, the IDERI note web components have been installed successfully and you can click the “Finish” button now. If you previously selected to create an IIS application and now start InetMgr.exe, you will notice that a new IIS application named “IDERInote” has been installed under the previously selected web site. The application itself uses Basic Authentication (figure 3.91).
Warning
As already mentioned above, consider configuring HTTPS/TLS for the web site, as using basic authentication over http is not secure.
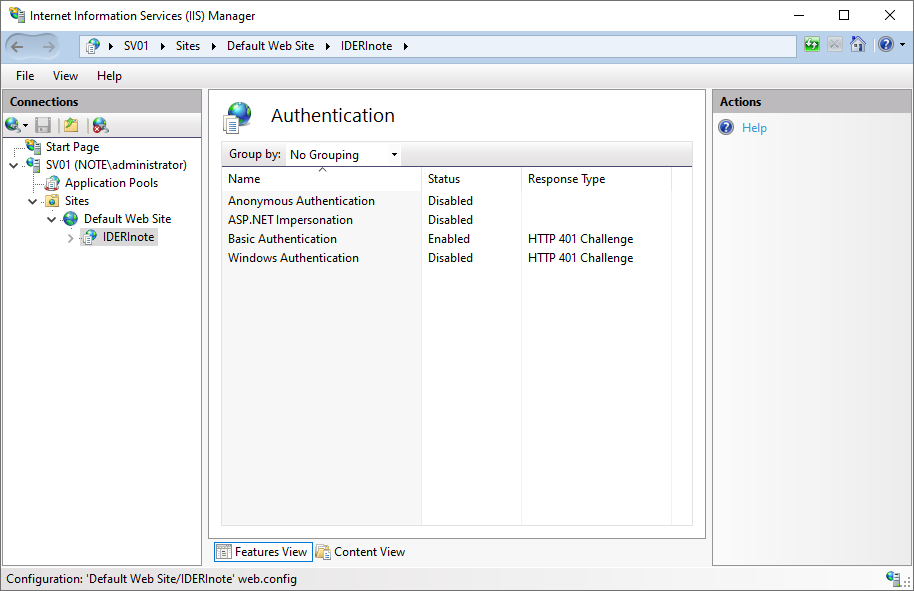
Fig. 3.91 InetMgr.exe showing the IIS application “IDERInote” installed
3.15.3. Add IIS application manually
3.15.3.1. Add IIS application pool
Open the Internet Information Service (IIS) Manager by executing InetMgr.exe. In IIS Manager select Application Pools in the left menu bar and afterwards click Add Application Pool… on the right sided actions bar (figure 3.92).
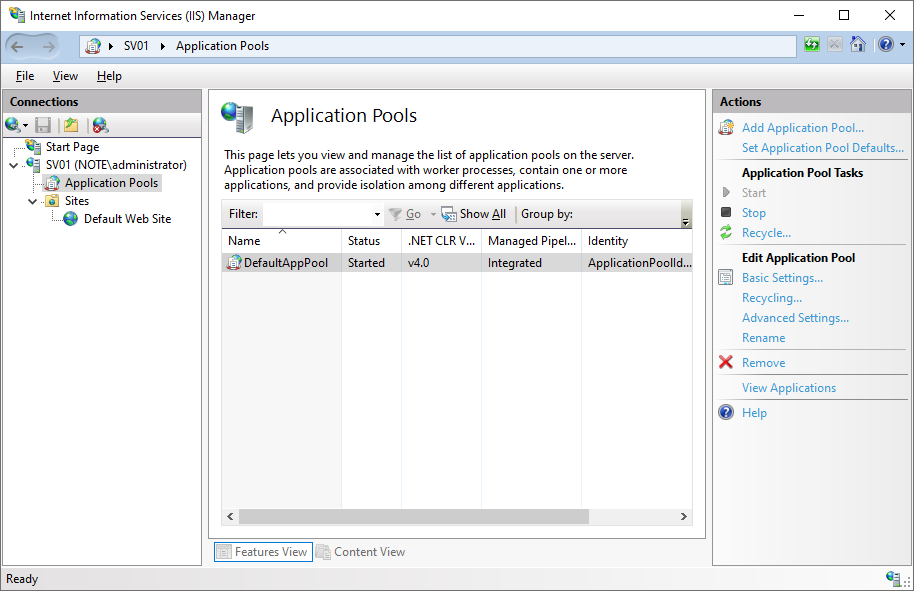
Fig. 3.92 Add new IIS application pool
Name the application pool InoteWeb, select .NET CLR Version v4.0.xxxxx and set the Managed pipline mode to Integrated. (figure 3.93)
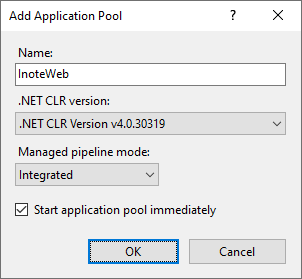
Fig. 3.93 Configure IIS application pool
Click the OK button to create your new application pool.
3.15.3.2. Add IDERI note web IIS web site
You can either use an existing web site in IIS and create an IIS application beneath it (section 3.15.3.2.1), or you can create a whole new web site with IDERI note web in its root (section 3.15.3.2.2). This chapter will cover both scenarios.
Warning
Either way, please make sure the web site uses https (SSL encryption) as we need authentication. If you do not enable https, credentials provided will be transmitted unencrypted (clear text), which is a major security issue.
3.15.3.2.1. Option 1: Add IDERI note web to an existing web site
In IIS Manager navigate to Sites and select the web site you want to add IDERI note web to. Right click the site and select Add Application… (figure 3.94).
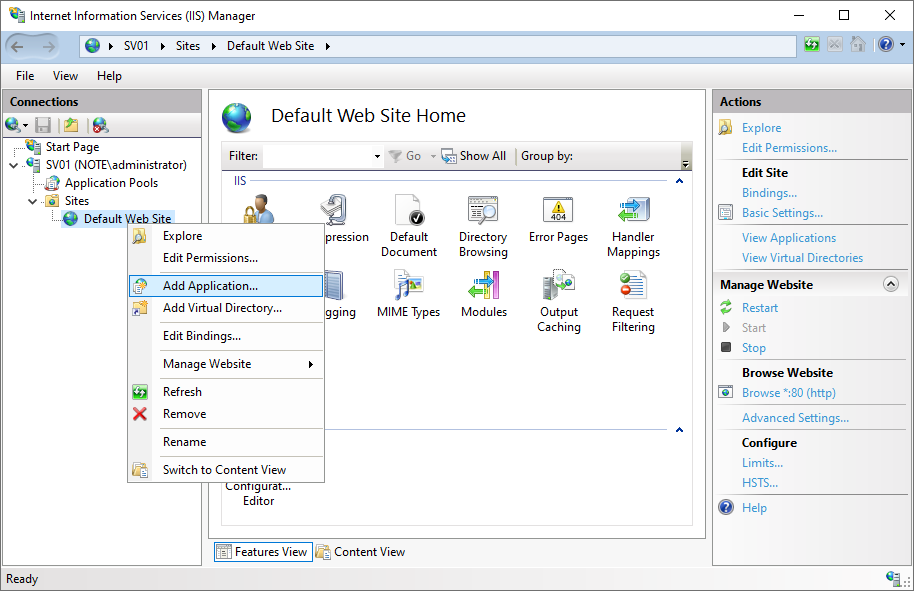
Fig. 3.94 Add application to existing IIS web site
Specify “IDERInote” as alias, set the physical path to the installation directory of IDERI note web (Default: “C:\Program Files\IDERI\IDERI note web”) and select the application pool “InoteWeb” that you have created previously (section 3.15.3.1). Create the application by clicking the OK button (figure 3.95).
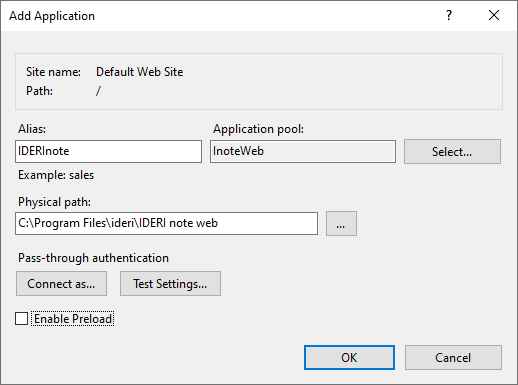
Fig. 3.95 Configure IIS application
Expand the web site and select your newly created application in the left sided connections menu. In the features view select Authentication (figure 3.96).
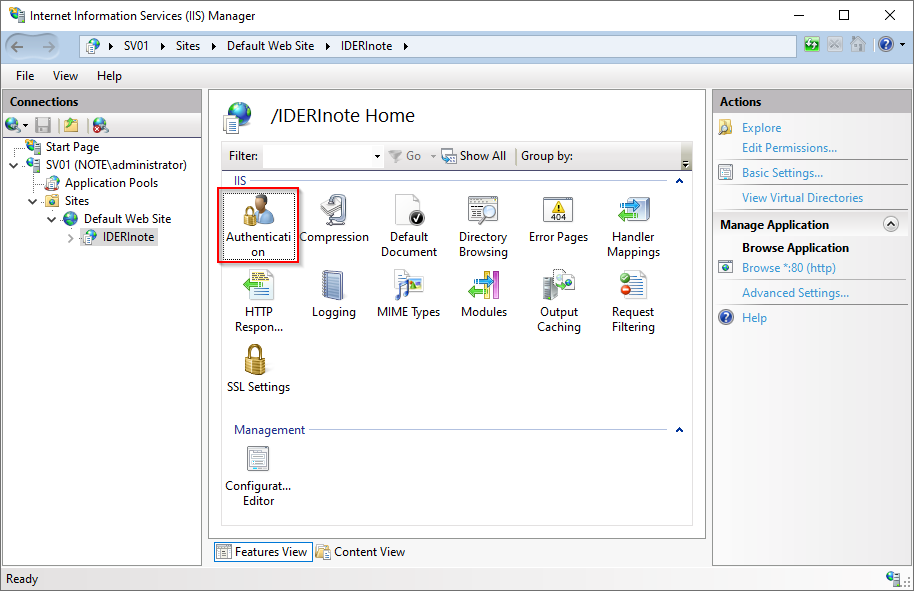
Fig. 3.96 Open IIS authentication
In Authentication settings make sure to disable Anonymous Authentication (!) and enable Basic Authentication (figure 3.97).
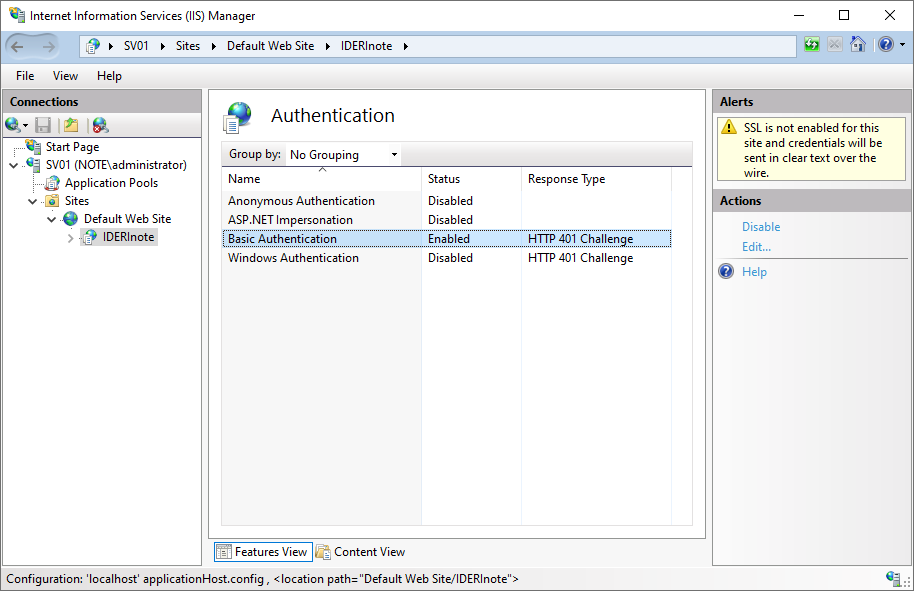
Fig. 3.97 Configure authentication
Almost done. Now please make sure to enable https communication for the web site you’ve created the IDERI note web application in. See section 3.15.3.3.
After that you can access IDERI note web in your browser by navigating to the ULR
https://<yourServerName>:<Port>/IDERInote (Example:
https://SV01.note.dev:443/IDERInote). You should be prompted for your credentials to
login. Please specify your login data in format <Domain>\<UserName>.
3.15.3.2.2. Option 2: Add new web site for IDERI note web
In IIS Manager select Sites and click Add Website… on the right sided action menu (figure 3.98).
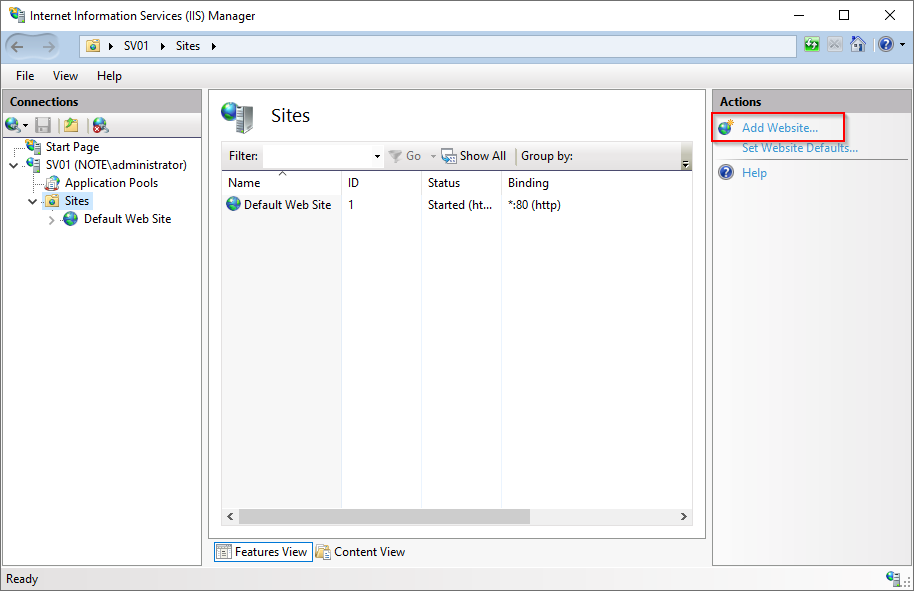
Fig. 3.98 Add new IIS web site
Specify the site name, select “InoteWeb” as the application pool you’ve created previously (section 3.15.3.1), set the physical path to the installation directory of IDERI note web (Default: “C:\Program Files\IDERI\IDERI note web”) and set the port of the web site. Create the new web site by clicking the OK button (figure 3.99).

Fig. 3.99 Configure new IIS web site
Select the newly created web site in the left sided connections menu. In the features view select Authentication (figure 3.100).
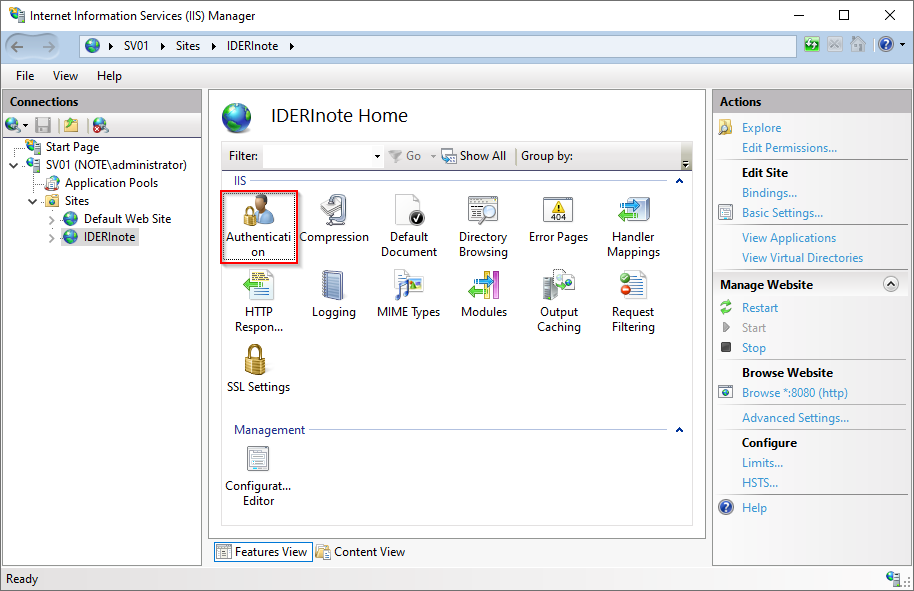
Fig. 3.100 Open IIS web site authentication
In Authentication settings make sure to disable Anonymous Authentication (!) and enable Basic Authentication (figure 3.101).
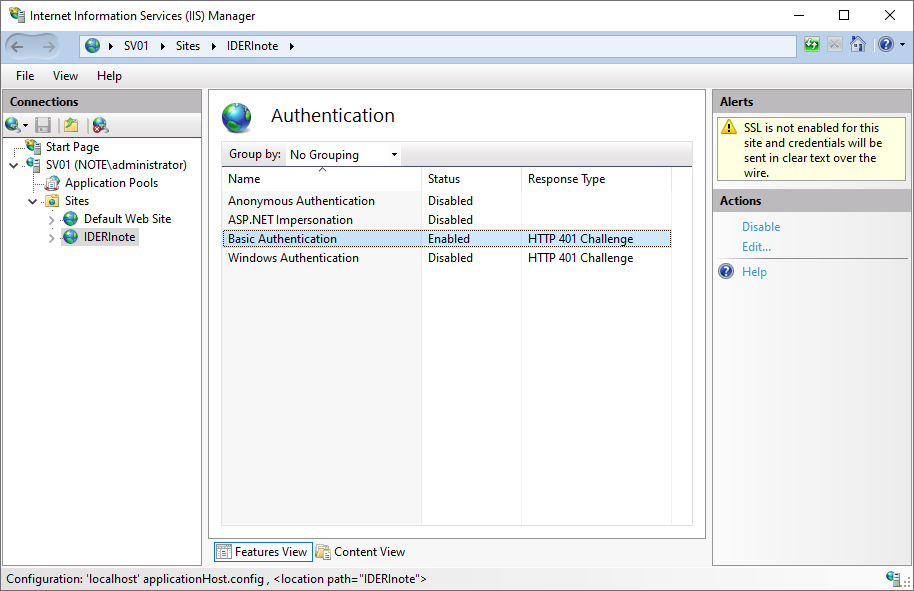
Fig. 3.101 Configure IIS web site authentication
Almost done. Now please make sure to enable https communication for the web site you’ve created the IDERI note web application in. See section 3.15.3.3.
After that you can access IDERI note web in your browser by navigating to the ULR
https://<yourServerName>:<Port> (Example: https://SV01.dev:4430/). You should be
prompted for your credentials to login. Please specify your login data in format
<Domain>\<UserName>.
3.15.3.3. Enable https (SSL encryption) for IIS web site
Warning
If SSL (https) is not enabled for the web site and you’re using http instead, your data sent to the server will not be encrypted. This includes credentials (user names and passwords) which makes it easy for an attacker to compromise your environment.
To setup https for your IIS web site please follow the instructions of Microsoft. https://learn.microsoft.com/en-us/iis/manage/configuring-security/how-to-set-up-ssl-on-iis#iis-manager