


3.2. Installing the IDERI note Server
The most important part of IDERI note is its server component. The IDERI note server is installed with the inotesvc.msi setup file. Installing this file can either be done by executing it from explorer or by executing it from a cmd.exe console window, thereby specifying an installation log file like this:
msiexec /i inotesvc.msi /l*v c:\temp\inotesvc.log
This command line assumes that you have created the directory c:\temp, where the Windows® installer engine will create the log file inotesvc.log. Each IDERI note msi setup has to be invoked while running as a local administrator (in the case of Windows® Vista and later, you will receive an elevation prompt if you are not running as a local administrator). However, in the case of inotesvc.msi, an additional group membership is required: If you are logged in as a domain member in AD when installing inotesvc.msi, and if you want the IDERI note server to be registered as a service connection point in AD, then you also have to be a domain administrator. The following installation sequence will show the installation of an IDERI note server on a typical platform for this software component, a server computer running Windows® Server 2012 R2.
After inotesvc.msi has been invoked, the installer welcome screen will appear soon thereafter. Figure 3.2 shows the welcome screen of the inotesvc.msi setup.
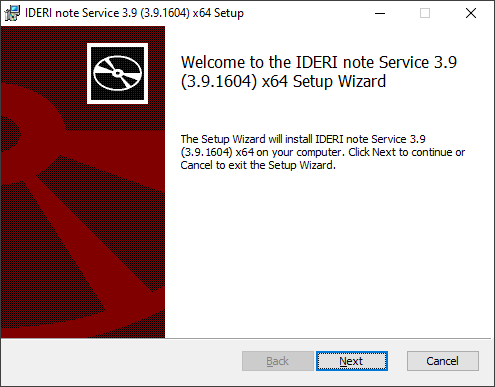
Fig. 3.2 Server setup welcome screen
As you can see, the build number of any IDERI note setup is shown in the setup screens, in this case it is build 713. It might well be the case that the msi files you downloaded from the IDERI website have a higher build number, but in this case the instructions in this section still apply, unless a newer version of this documentation is also available on the IDERI website.
To proceed in the installation, click the next button and the software license agreement screen will appear as in figure 3.3.
If you are running the IDERI note service setup on a workstation computer, a warning screen will be shown at this point that reminds you to only install the IDERI note service on a workstation class computer during product evalutation. For a production environment, the IDERI note service should not be installed on each client computer in your network, instead it should only be installed on a selected number or more typically, even on only one server class computer in your network.
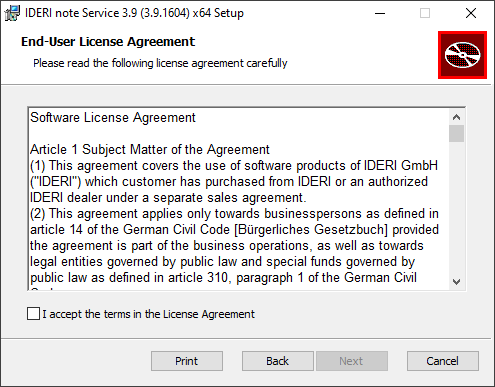
Fig. 3.3 Software license agreement screen
Please read this software license agreement carefully and if you agree to be bound by the terms in the license agreement, then tick the checkbox labeled “I accept the terms in the License Agreement” and click “Next”. Now the destination folder setup screen will appear as in figure 3.4.
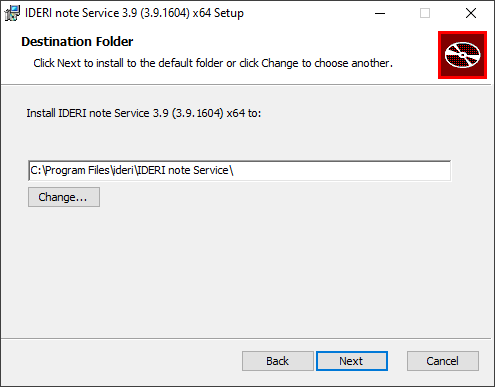
Fig. 3.4 Destination folder setup screen
Using this screen, you can either change the folder, where the IDERI note server components are installed or accept the default, which is the recommended setting. After that, click “Next” and the service connection point setup screen will appear as in figure 3.5.
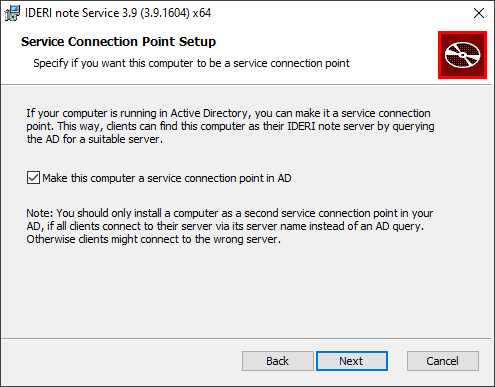
Fig. 3.5 Service connection point setup screen
If the checkbox labeled “Make this computer a service connection point in AD” is ticked, after clicking “Next”, the inotesvc.msi setup will determine if you are a domain administrator and whether a service connection point in your AD already exists in the current AD site. If you are either not a domain administrator or if a service connection point for IDERI note already exists, a warning page will be shown as in figure 3.6, otherwise the installation start screen is shown as in figure 3.7.
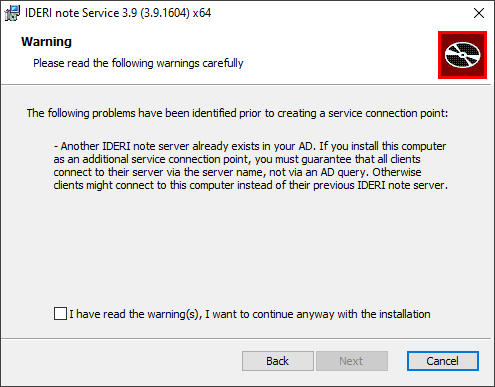
Fig. 3.6 Warning screen
If a warning screen similar to this is shown, you should read the screen carefully and decide what to do next. If a service connection point for IDERI note already exists in your AD in the current AD site, you should seriously consult the domain administrator who installed the service connection point on another computer in order to find out if it might be dangerous to install a second service connection point. This depends on whether clients in your current AD site find their IDERI note server via an AD query for an IDERI note service connection point or use dedicated server names to which they connect. If they use an AD query, they might connect now to the second service connection point that you are just about to install, which might not be the intention of the administrators who are responsible for these client computers.
If you are not a domain administrator and this warning screen appears, the IDERI note server setup will most probably succeed if you continue with the installation, but a service connection point will most probably not be installed for the computer, at least with default AD security settings.
If such a warning screen is shown, you have to tick the check box labeled “I have read the warning(s), I want to continue anyway with the installation” if you want to continue despite of the warnings shown. If you instead want to revise your decision about registering the computer as a service connetion point, click the “Back” button and untick the check box labeled “Make this computer a service connection point in AD”. After clicking “Next”, the installation start screen is shown as in figure 3.7.
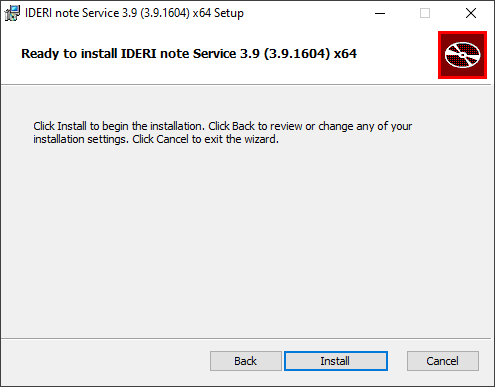
Fig. 3.7 Installation start screen
If you click “Install” on the installation start screen, the installation process is started and the installation process screen is shown (see figure 3.8).
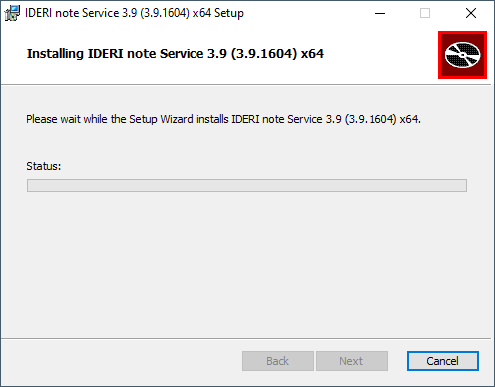
Fig. 3.8 Installation process screen
The installation process screen will take a while until it completes and the installation completion page is shown (see figure 3.9).
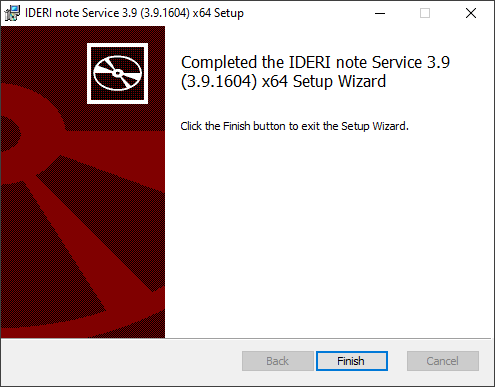
Fig. 3.9 Installation completion screen
If the installation completion screen is shown, the IDERI note server has been installed successfully and you can click the “Finish” button now. If you now start services.msc, you will see that a new service named “inotesvc” has been installed and is running as “Network Service”.