


3.3. Installing the IDERI note Administration Components
In order to create messages that are stored on an IDERI note server and delivered to computers running the IDERI note client components, you have to install the IDERI note administration components using the intadmin.msi setup file.
Installing this file can again either be done by executing it from explorer or by executing it from a cmd.exe console window, thereby specifying an installation log file like this:
msiexec /i intadmin.msi /l*v c:\temp\intadmin.log
This command line assumes that you have created the directory c:\temp, where the Windows® installer installation engine will create the log file intadmin.log. The following installation sequence will show the installation of the IDERI note administration components on a typical platform for this software component, a client computer running Windows® 8.1. Note that you don’t have to install the IDERI note administration components on the same computer where you previously installed the IDERI note server, because the IDERI note administrator component will connect to an IDERI note server across the network. In fact, you can install the IDERI note administration components on as many computers in your network as you like.
If you invoke the intadmin.msi setup file, the installation welcome screen will appear (figure 3.10).
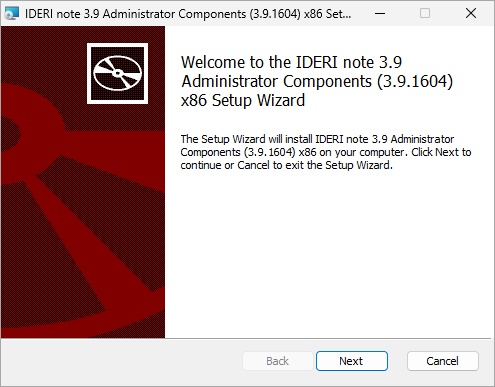
Fig. 3.10 Installation welcome screen
If you click “Next” on the installation welcome screen, the destination folder setup screen will appear (figure 3.11).
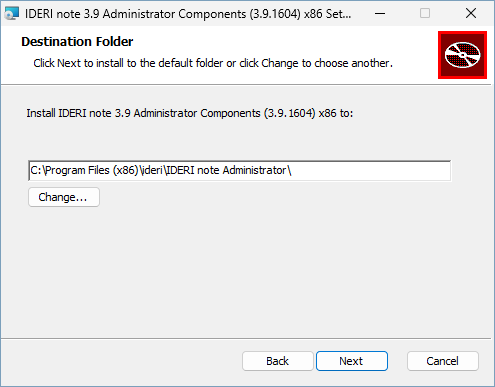
Fig. 3.11 Destination folder setup screen
Using this screen, you can either change the folder, where the IDERI note administration components are installed or accept the default, which is the recommended setting. After that, click “Next” and the quick login screen will appear (figure 3.12).
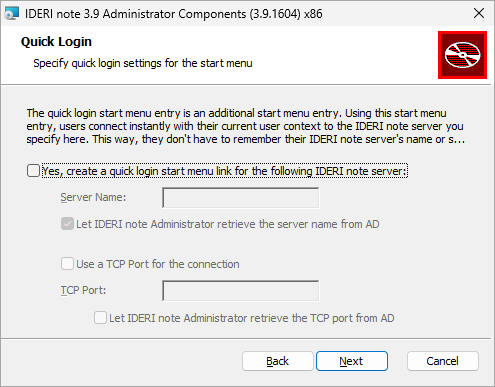
Fig. 3.12 Quick login screen
Using this screen, you can specify if you want a quick login shortcut to be created in the start menu and on the desktop. Using the quick login shortcut you can launch IDERI note administrator without a prompt for a server name or user name, domain name, password or optional TCP port. The quick login shortcut will launch IDERI note administrator with your current user identity and connect immediately to the server that you specify on this installation screen. If your IDERI note server is registered as a Service Connection Point in AD, you can tick the check box labeled “Let IDERI note Administrator retrieve the server name from AD”, otherwise specify the name of the IDERI note server in the edit field labeled “Server Name:”. If the quick login shortcut should connect to the IDERI note server via a dedicated TCP port, then tick the check box labeled “Use a TCP port for the connection” and either specify the port in the edit field below or tick the check box labeled “Let IDERI note Administrator retrieve the TCP port from AD”, if your IDERI note server is registered as a Service Connection Point in AD. Your IDERI note server must be configured to use a TCP port for its administrative interface if you want to connect to it via a dedicated TCP port, see also section 7.26. Note that you don’t need the quick login shortcut at all in order to work with IDERI note Administrator. If you don’t want this feature, you will still get a shortcut to start IDERI note Administrator, but launching IDERI note Administrator via the standard shortcut will always prompt you for the name of an IDERI note Server and optional user credentials. After having made the configurations on this page, click “Next” and the installation start screen will appear (figure 3.13).
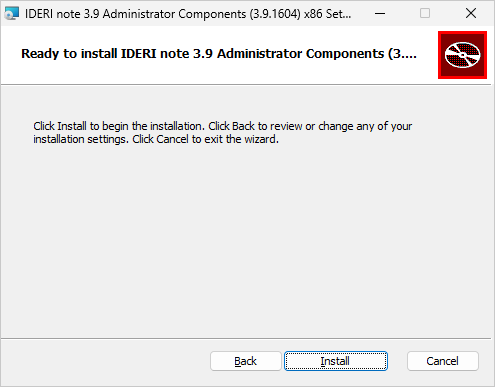
Fig. 3.13 Installation start screen
If you click “Install” on the installation start screen, the installation process is started and the installation process screen is shown (figure 3.14)
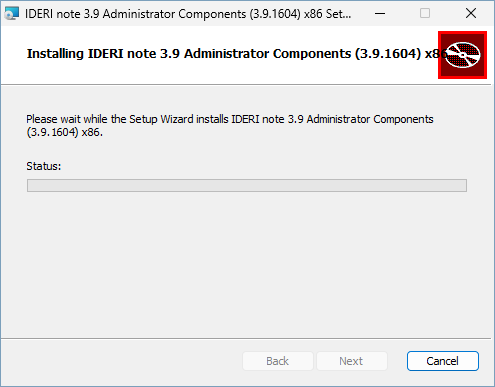
Fig. 3.14 Installation process screen
The installation process screen will take a while until it completes and the installation completion page is shown (figure 3.15).
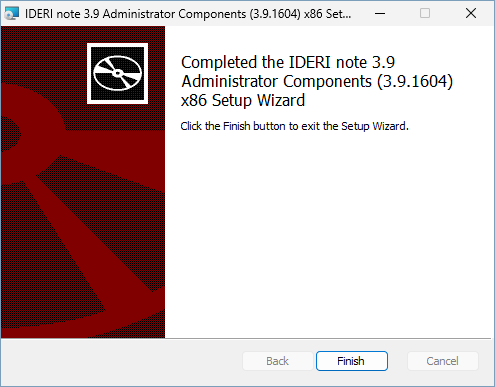
Fig. 3.15 Installation completion screen
If the installation completion screen is shown, the IDERI note administration components have been installed successfully and you can click the “Finish” button now. You will notice that shortcuts on your desktop and in the start menu have been installed that allow you to launch the “IDERI note Administrator” application. If you are running as a domain user in AD and you have previously installed the IDERI note server with the option to create a service connection point in AD, you can now easily determine, if the creation of the service connection point had been successful: Simply start “IDERI note Administrator” and wait until the application shows a dialog box labeled “Login”. Make sure to untick the checkbox labeled “Login to the local computer as self”. The dialog box should now look like figure 3.16.
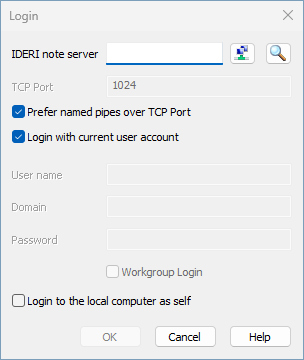
Fig. 3.16 IDERI note Administrator login dialog
If you press the AD query button with the magnifier glass symbol in this dialog, a new dialog will appear that shows all IDERI note service connection points found in your AD. This new dialog is labeled “Servers found in AD” and is shown in figure 3.17.
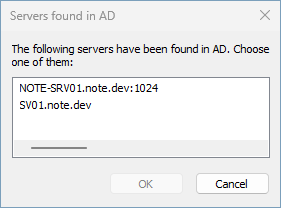
Fig. 3.17 IDERI note Administrator service connection point selection dialog
It might take a while until all IDERI note servers in your AD have been found. If the name of the computer where you previously installed the IDERI note server with the option to create a service connection point appears in the list of this dialog, then everything went well while installing the service connection point, meaning that clients will also be able to discover this server via an AD query.
Attention
Logging in from a workgroup computer or from a computer in an untrusted domain
There might be situations where you have to login into an IDERI note server via the IDERI note administrator from a non-domain joined computer like a workgroup machine or more generally, from a client in an untrusted domain from the point of view of the IDERI note server. This can also be the case if you run the IDERI note administrator from a domain-joined computer’s local account. When logging in in such a situation, you should tick the checkbox labeled “Workgroup login” when using named pipes as the protocol. Using this setting enabled for logins within the same domain will only have consequences when typing a bad password. This will increase the number for invalid logon attempts maintained within Active Directory by 2.