3.7. Installing the IDERI note Lite Messaging Tools
The IDERI note Lite Messaging Tools are optional components that can be installed on administrative workstations from which you want to send messages that have the properties of a message created for IDERI note Lite version. You can install the IDERI note Lite Messaging Tools on as many computers in your network as you like. For installation of the IDERI note Lite Messaging Tools use the litetools.msi setup file.
Installing this file can either be done by executing it from explorer or by executing it from a cmd.exe console window, thereby specifying an installation log file like this:
msiexec /i litetools.msi /l*v c:\temp\litetools.log
If you invoke the litetools.msi setup file, the installation welcome screen will appear (figure 3.37).
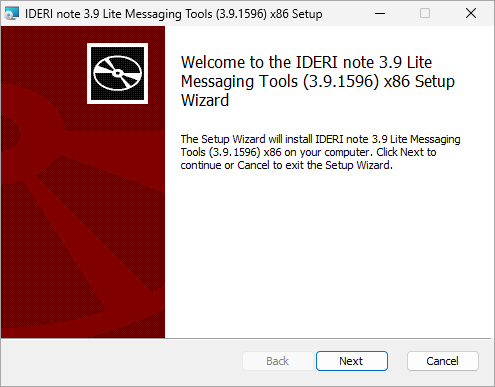
Fig. 3.37 Welcome screen of the IDERI note Lite Messaging Tools installation
If you click “Next” on the client setup welcome screen, the custom setup screen will appear (figure 3.38).
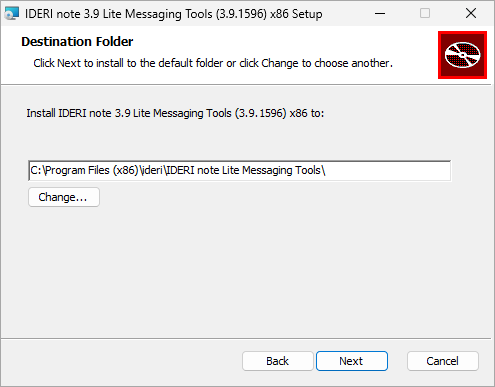
Fig. 3.38 Destination folder setup screen
Using this screen, you can either change the folder, where the IDERI note Lite Messaging Tools are installed or accept the default, which is the recommended setting. After that click “Next” and the installation start screen will appear (figure 3.39).
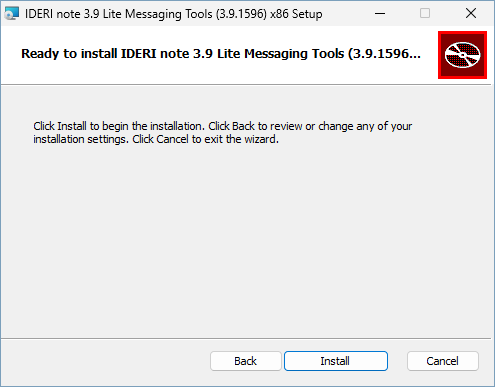
Fig. 3.39 Installation start screen
If you click “Install” on the installation start screen, the installation process is started and the installation process screen is shown (figure 3.40)
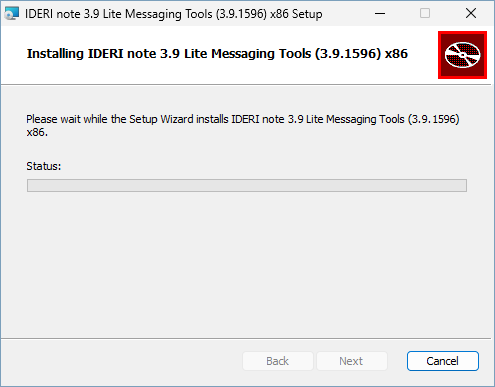
Fig. 3.40 Installation process screen
The installation process screen will take a while until it completes and the installation completion page is shown (figure 3.41).
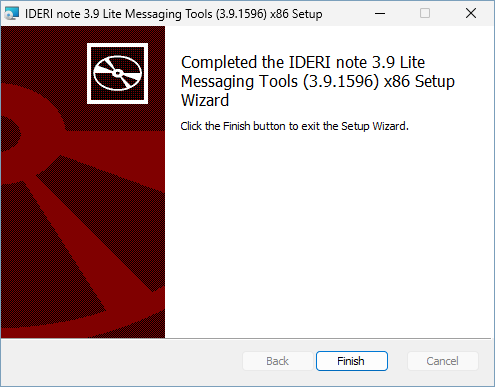
Fig. 3.41 Installation completion screen
If the installation completion screen is shown, the IDERI note Lite Messaging Tools have been installed successfully and you can click the “Finish” button now. You will notice that shortcuts on your desktop and in the start menu have been installed that allow you to launch the “IDERI note Lite Message Wizard” application. Furthermore you will find the linotcmd.exe inside the installation directory which can be used to create IDERI note Lite version messages from command line or scripts.


