


4.15. Using network ranges
The network ranges feature allows you to configure one or more network ranges that consist out of one or more IPv4 address ranges. Network ranges can be associated with an IDERI note message, acting as sort of an additional filter for message reception of clients connecting to the IDERI note server. This is best illustrated by giving an example: Consider a new IDERI note message with Albert.Tross as its recipient and a network range associated with the new message. Now the client computer that Albert.Tross is using to synchronize with the IDERI note server will only receive this message if the IP address that this computer is using at the time of synchronization is within one of the IP address ranges of the network range associated with the message. Since IP address ranges usually reflect the network topology of physical locations, this facility can easily be used to only notify users from the physical location represented by an IP address range.
Note
The network ranges feature is only available with IDERI note running in Professional licensing mode.
4.15.1. Creating new network ranges
In order to create a new network range in IDERI note, IDERI note administrator has to be launched by a user with the “Manage network ranges” access right in the general policy security settings (see also section 4.4). During the course of the following example, the user we will be using is a member of the local administrators group of our IDERI note server and is therefore allowed to manage network ranges by default. In order to create a new network range, we now press the button labeled “Network ranges” (see figure 4.66) on the “Miscellaneous” panel of the ribbon’s “Settings” tab. This will invoke the network ranges editor dialog as in figure 4.67.
Fig. 4.66 The network ranges button on the “Miscellaneous” panel of the ribbon’s “Settings” tab
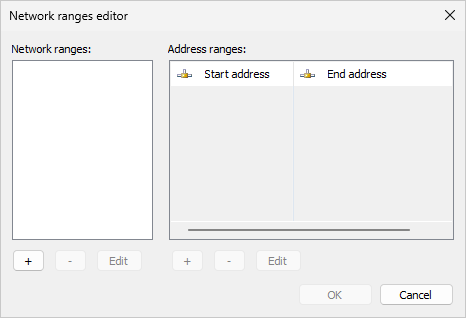
Fig. 4.67 Overview of the network ranges
Figure 4.67 shows a network ranges list that is empty thus far. If we now press the button labeled “+” on the left side of the network ranges editor dialog directly below the network ranges list box, a new dialog as in figure 4.68 will be shown. In this dialog we provide the name for our new network range, which in our case will be “Berlin office”.

Fig. 4.68 Creating a new network range
If we now click “OK” in this dialog, the new network range will be created and the network ranges editor overview dialog will be updated as in figure 4.69. Notice the asterisk appended in the caption of the dialog and also appended to the name of the network range in the network ranges list box. This asterisk is used as an indicator that something has been changed within the dialog and specifically in the network range named “Berlin office” [1].
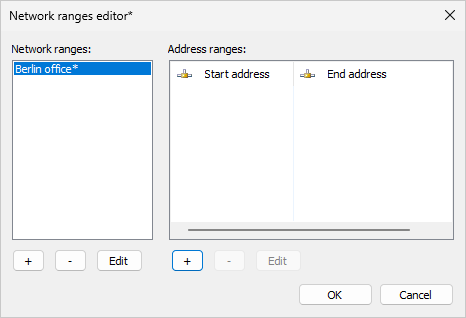
Fig. 4.69 Updated overview of the network ranges editor with the new network range “Berlin office” added
Now we have to add address ranges to the newly created network range. In order to do so, we have to press the “+” button on the right side of the network ranges editor dialog directly below the address ranges list control. This will display a dialog for the specification of an IPv4 address range as shown in figure 4.70.
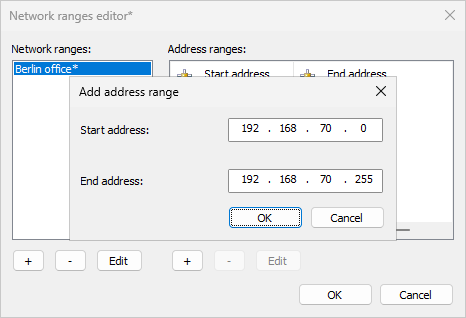
Fig. 4.70 Adding an address range
In this dialog we specify the start and end IP addresses for our range in standard dotted IPv4 format and confirm by pressing the “OK” button, which will return us to our updated overview of the network ranges, as shown in figure 4.71.
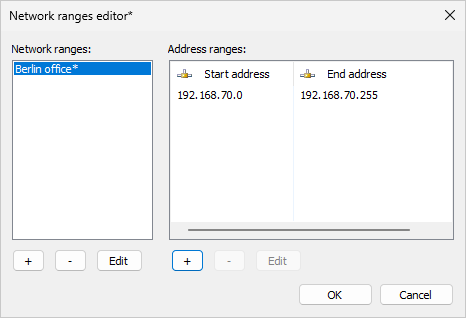
Fig. 4.71 Updated overview of the network ranges with an address range
Repeatedly pressing the “+” button below the address ranges list control allows us to add more IP address ranges to our network range named “Berlin office”. If we are all done with our modifications, we have to press the “OK” button and our new network range will be saved on the IDERI note server.
4.15.2. Using network ranges in IDERI note messages
Now that we have successfully created a new network range, we can go ahead and use it in a new message. In the following example we want to create a new message that should be displayed to all users that are logged in on computers connected to the IDERI note server with an IP address matching an IP address range of the newly created network range named “Berlin office”.
In order to do so, we press the “New” button in the IDERI note administrator and specify the settings for the new message as usual. However, in the recipients section we specify “NT AUTHORITY\Authenticated Users” as we want the message to be shown to all users (see figure 4.72).
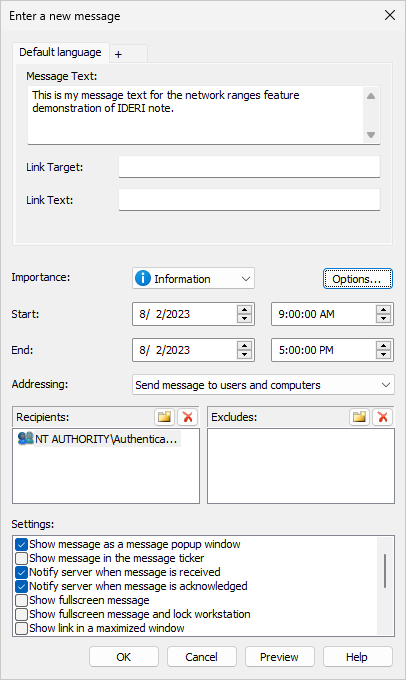
Fig. 4.72 Creating a new message
In order to associate the new network range “Berlin office” with the message, we now have to press the button labeled “Options…” and a property sheet as shown in figure 4.73 will appear.
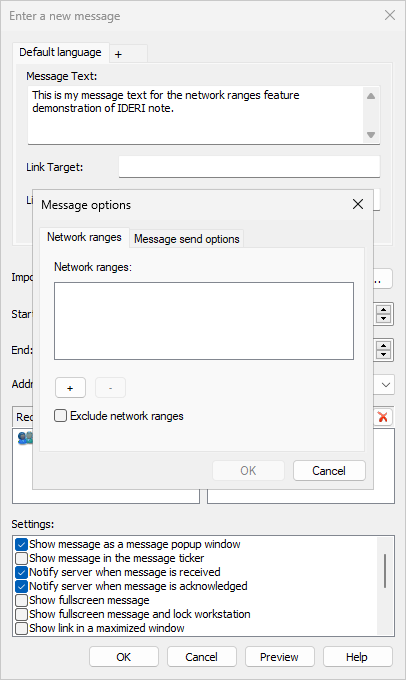
Fig. 4.73 Adding message options
In this property sheet, we can specify the Message send options on the second page, but since we want to associate a network range with the new message, we press the “+” button on the first page. This will open the network ranges picker dialog as in figure 4.74, where we select one or more network ranges to be associated with the message.
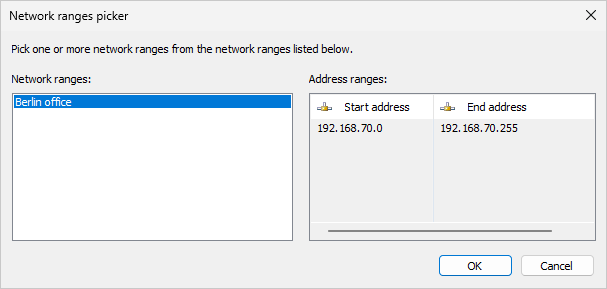
Fig. 4.74 Selecting network ranges for the new message
After we have confirmed our choices by pressing the “OK” button, we will see an updated list of network ranges to be associated with our message (figure 4.75).
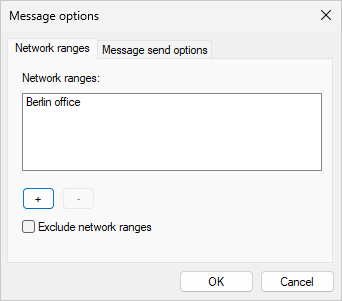
Fig. 4.75 Updated overview of the selected network ranges for the message
Note
If you check the box Exclude network ranges box in figure 4.75, the message will be received by all message recipients, excluding those clients that are connected with an IP address that falls within the IP address ranges of the network ranges associated with the message. This setting logically “inverts” the reception filter represented by the network ranges associated with the message.
All we now have to do is press the “OK” button on the property sheet. This will return us to the message creation dialog, which we can finish by clicking the “OK” button. This will create the new message with the network range associated with it. Now ony clients connected to the IDERI note server whose IP address falls within the address range 192.168.70.0 - 192.168.70.255 from our example in figure 4.70 will receive the new message from the IDERI note server.
Note
Using both network ranges and also the Exclude home office users or Send only to home office users setting with the same IDERI note message does not work. You must either use network ranges or one of the home office feature options.
Footnotes